概要
静的サイトジェネレータのPelicanを用いてブログ記事が生成できる環境をDockerで整えてみます。ちなみにですが、このサイトも本記事の手法で開発しています。
Dockerfile 作成
まず始めに、Pelicanを動かすためのDockerfileを作成します。PelicanはPythonで動作するため、Python公式のDockerイメージをベースとします。
1 2 3 4 5 6 7 8 9 10 11 | |
もし他に必要なライブラリがある場合は8行目の後に追加します。例としてTypogrifyを追加する際は以下の記述となります。
5 6 7 8 9 10 | |
コンテナ実行時のデフォルト処理は、ファイルの変更監視が有効な組み込みサーバーの起動とします。サーバーへのアクセスを可能にするため、バインドするIPアドレスに0.0.0.0を指定しています。
11 | |
docker-compose.yml 作成
上記のDockerfile単体でもPelicanの実行は可能ですが、ここではコンテナの起動手順を単純化するためにDocker Composeを利用します。
Dockerfileと同じディレクトリにdocker-compose.ymlを作成します。
1 2 3 4 5 6 7 8 | |
Pelican 実行
以上でPelicanの実行環境が整いましたので、ここからは実際にブログを構築していきます。
ひな形生成
下記コマンドの実行でブログシステムのひな形を生成します。
docker-compose run --rm pelican pelican-quickstart
いくつかの質問に答える必要がありますが、ここで入力した内容はいつでも設定ファイルで変更が可能です。以下に質問と回答の例を記載します。
Welcome to pelican-quickstart v4.5.4.

This script will help you create a new Pelican-based website.

Please answer the following questions so this script can generate the files
needed by Pelican.


> Where do you want to create your new web site? [.] .
> What will be the title of this web site? Quail's Notes
> Who will be the author of this web site? Quail
> What will be the default language of this web site? [en] ja
> Do you want to specify a URL prefix? e.g., https://example.com   (Y/n) n
> Do you want to enable article pagination? (Y/n) y
> How many articles per page do you want? [10] 10
> What is your time zone? [Europe/Paris] Asia/Tokyo
> Do you want to generate a tasks.py/Makefile to automate generation and publishing? (Y/n) y
> Do you want to upload your website using FTP? (y/N) n
> Do you want to upload your website using SSH? (y/N) n
> Do you want to upload your website using Dropbox? (y/N) n
> Do you want to upload your website using S3? (y/N) n
> Do you want to upload your website using Rackspace Cloud Files? (y/N) n
> Do you want to upload your website using GitHub Pages? (y/N) n
Done. Your new project is available at /usr/src/app
ひな形の生成に成功した場合は下記のディレクトリ構造となります。
.
├── content
│   └── (pages)
├── docker-compose.yml
├── Dockerfile
├── Makefile
├── output
├── pelicanconf.py # 開発用設定ファイル
├── publishconf.py # 本番用設定ファイル
└── tasks.py
サーバー起動
次に組み込みサーバーを起動し、生成されたブログを確認してみます。
下記コマンドを実行します。
docker-compose up -d
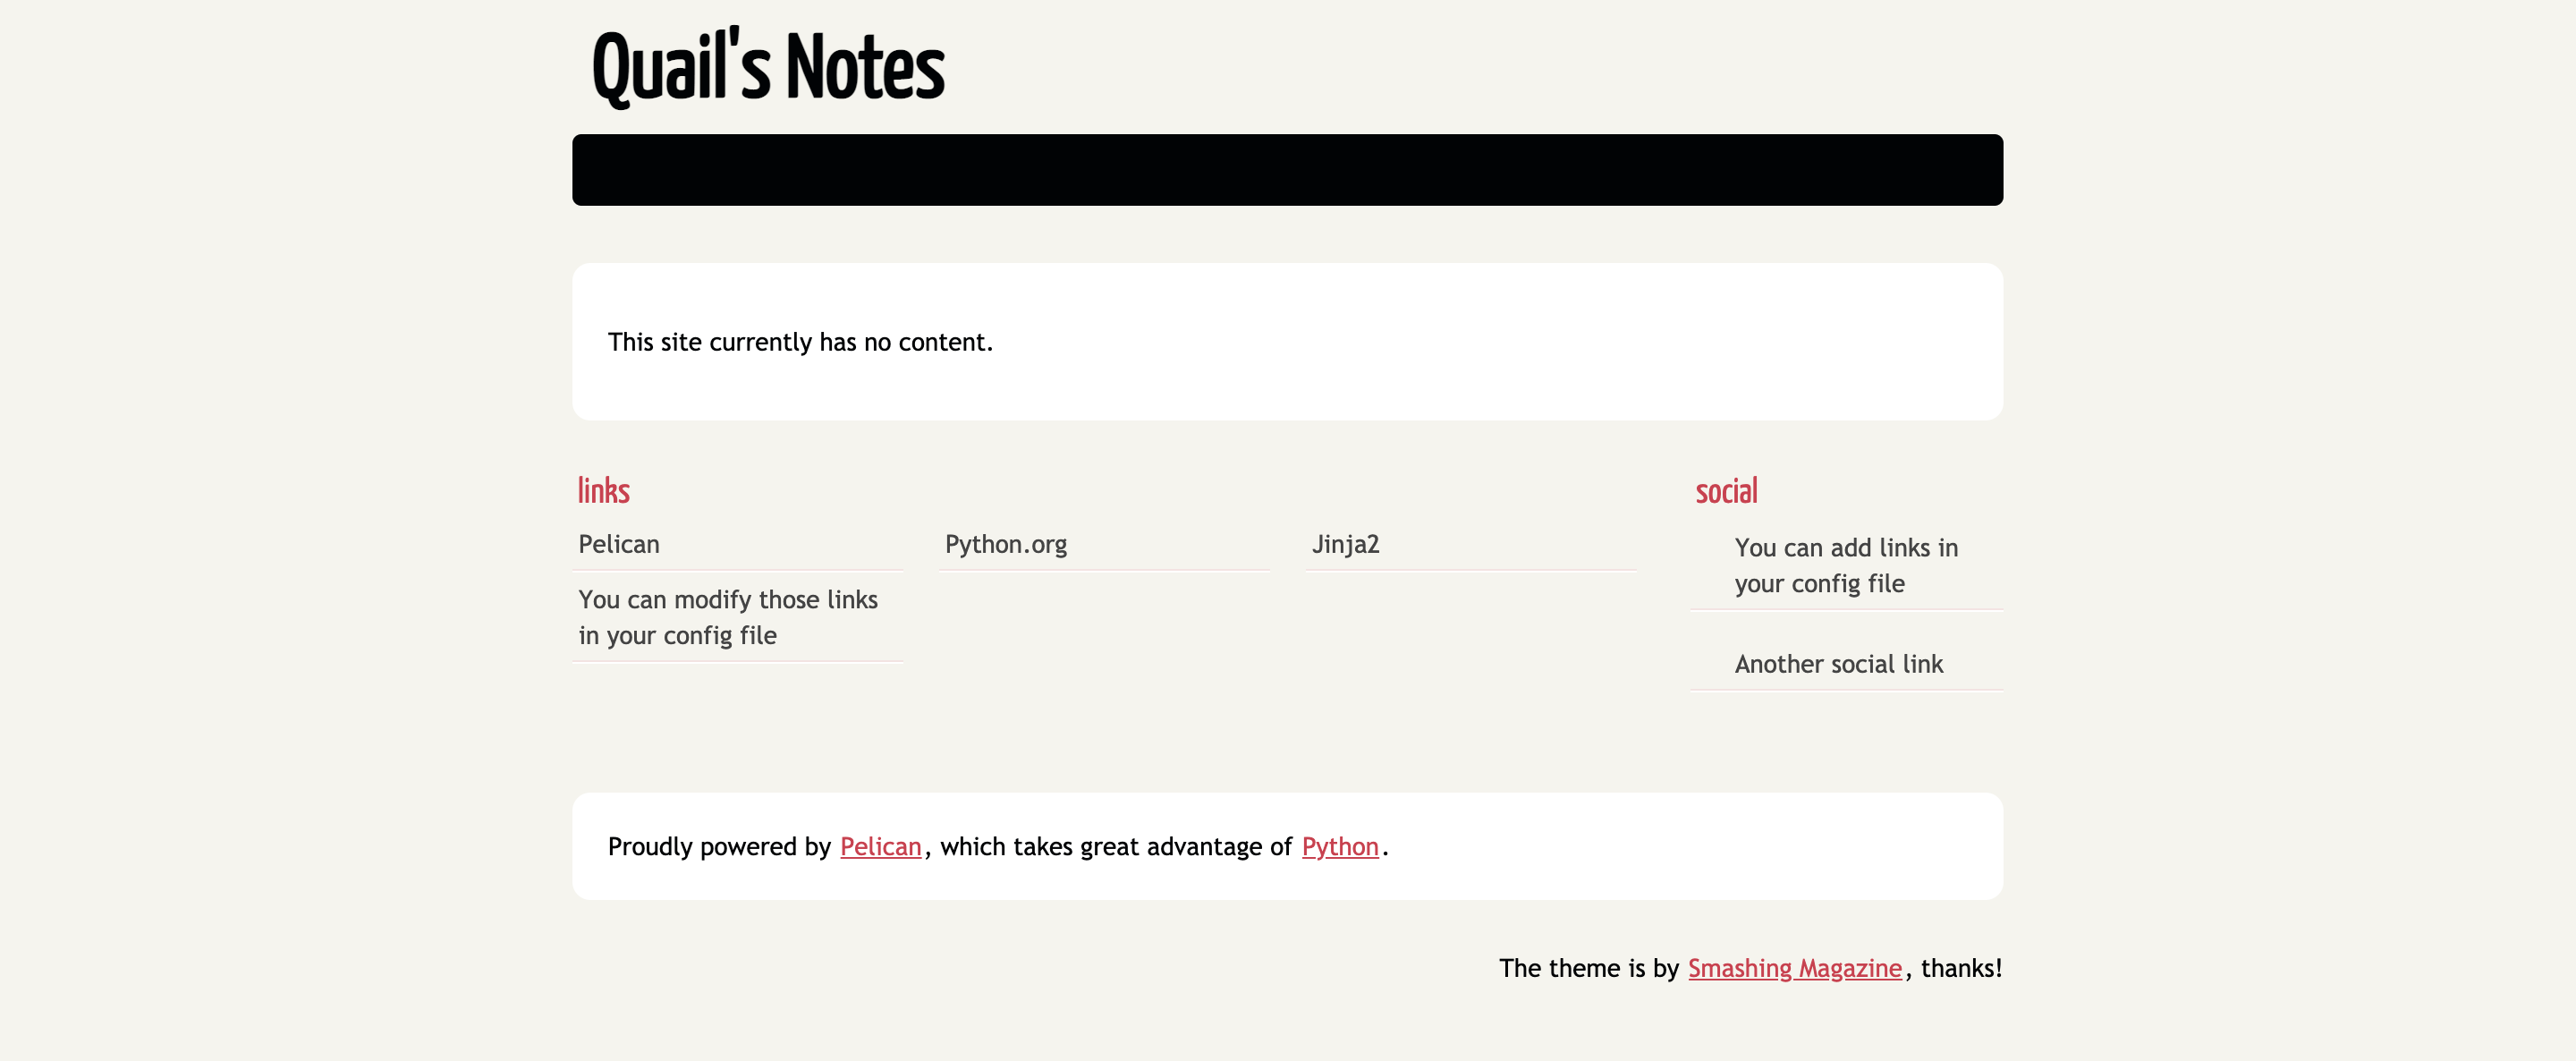
http://localhost:8000/でブログの確認が可能です。ファイルの変更監視が有効であるため、設定ファイルの修正や記事の作成は即座に反映されます。
記事作成
最後に新しい記事を作成します。記事のファイル形式にはreStructuredTextかMarkdownが選択できますが、今回はMarkdownで記述してみます。
contentディレクトリにtest.mdを作成します。
1 2 3 4 5 6 7 | |
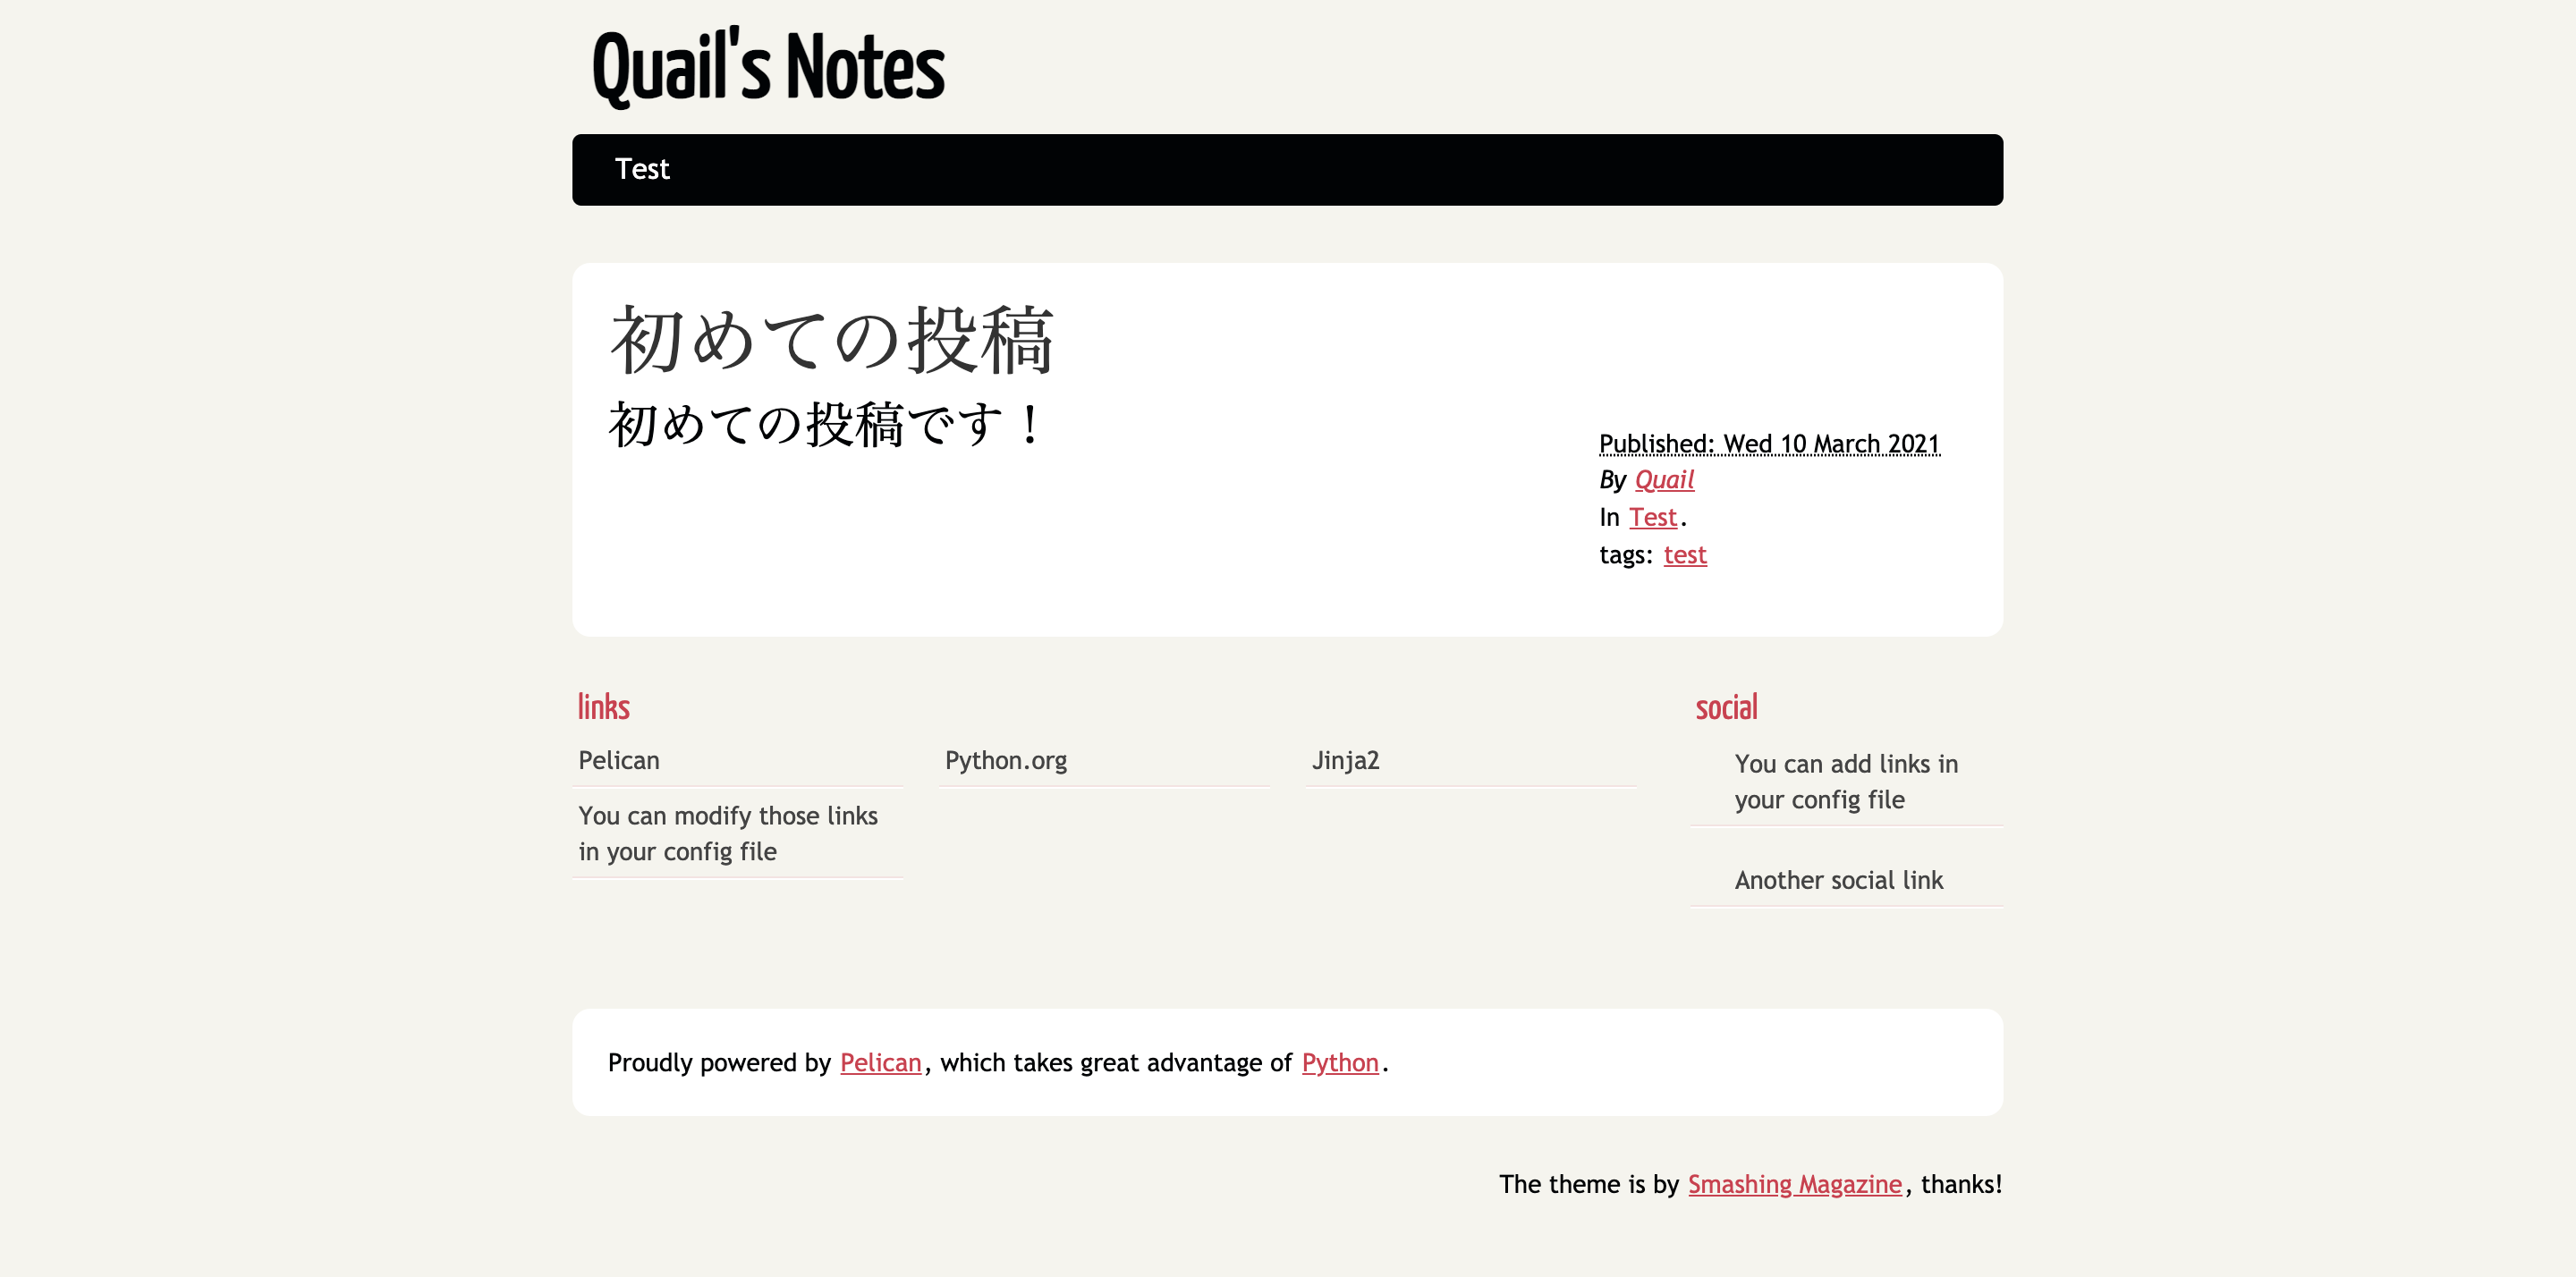
作成した記事がhttp://localhost:8000/のトップ画面に表示されます。
まとめ
以上がPelicanとDockerを用いたブログシステムの構築手順です。
Pelicanの設定項目は非常に多種多様ですので、そちらに関しては公式ドキュメントをご参照ください。

